
Did you know old baseboard heaters can be cleaned up, painted and refurbished.
In the last of my house upgrades, I had old baseboard heaters that had been painted badly in the past so they were flaking. I took my Dremel to them with a wire bit, put on my safety glasses and went to work cleaning the flaking bits off.
This has been one of my more challenging improvements. Being that the baseboard heaters are likely as old as the home. So about 47 years old, they get quite warm to the touch. Tips of spray painting metal.
Getting a can of white heat resistant pain was hard. They have them in black for barbecues. I don’t think the new owners will want black baseboard heaters.
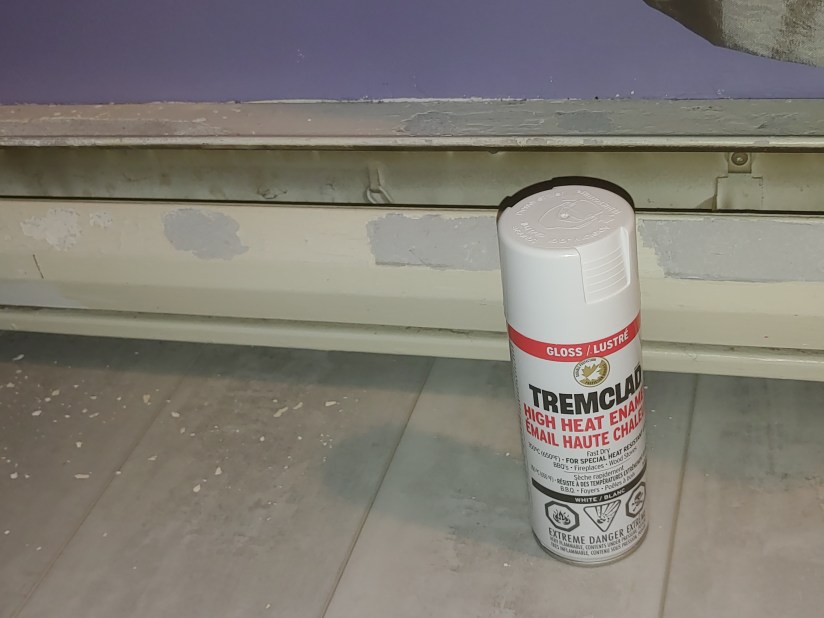
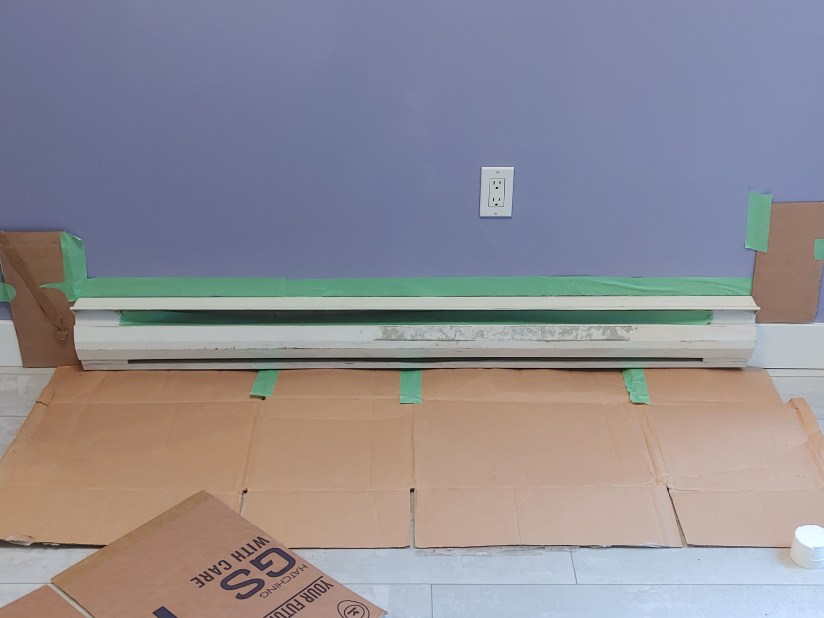
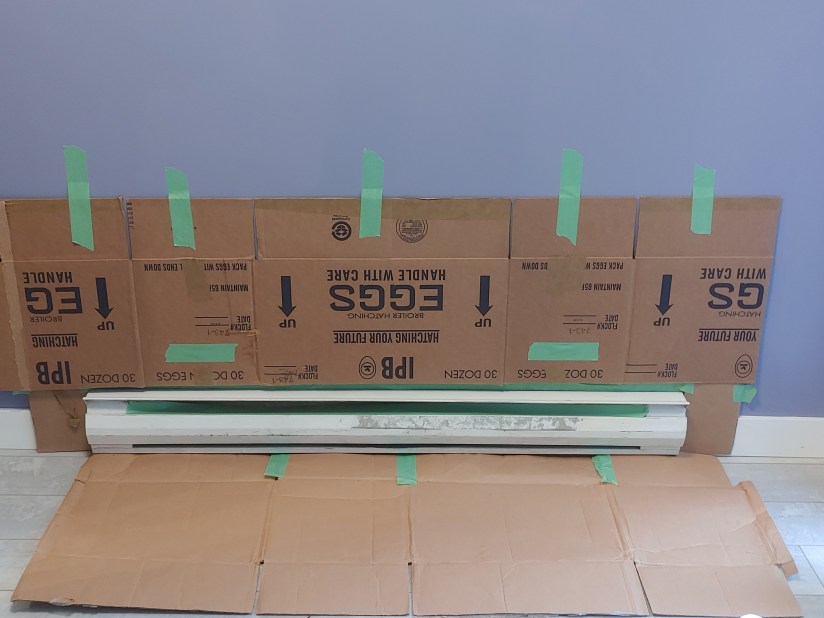
So I had to use heat resistant spray paint in the house. I was panicked about spraying the nice newly painted walls behind the heaters so I had to get creative. I tore open two boxes, taped the open spots on the cardboard then we taped the wall right above the heater with two inch painters tape. Under the heater is where I tucked the second box. We started with a piece of tape inside the heater to keep the slats free of paint, which did not work so well. I had to try to learn it would not work. I ended up taking a lip of the box and putting it in the heater and then spraying the inner edge. (When I took the cardboard off I noted the wall got sprayed a bit when I did the upper spray. Next time I will tape the carboard to the green tape. Good thing I know how to do quick touch ups!)
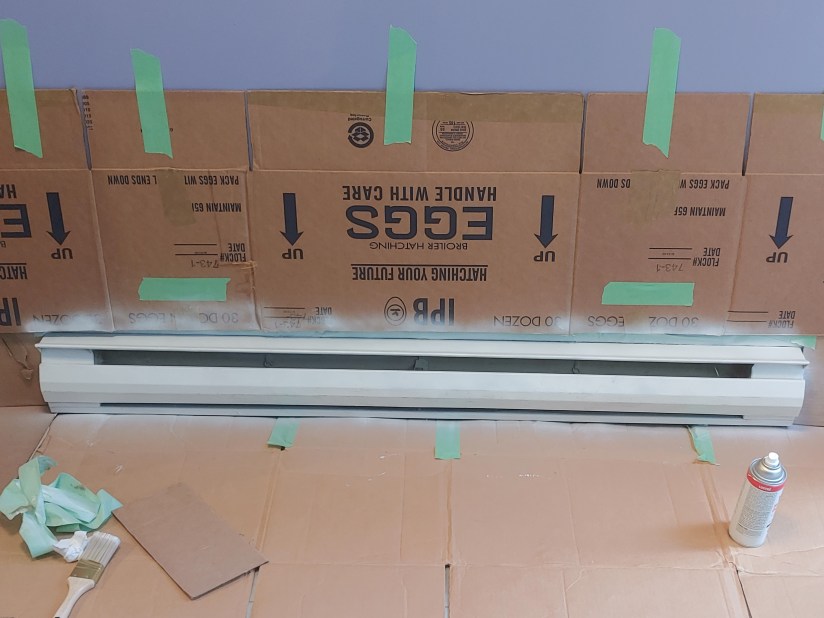
Using spray paint takes steady short sprays to not have paint runs or uneven patches. You want to be 25.4 to 30.5 cm (10 to 12 inches) away from what you are spraying
It came out faster than I moved my hand so there were a few runs, I just dabbed them really lightly with a kleenex. It is not perfect but it looks better and gives new life to the heater. You are better to do a couple light sprays then try to do it heavy. Let it dry between coats.
Remember about safety, wear a mask and open doors and windows if you are using this heat resistant paint in a house or closed space. If you like you can wear gloves. I didn’t and I have some paint on my hands.

Never be afraid to try something new. It just might work! Have a great week. In the next few months I may be blogging from our new space.
